Walkthrough
Fresh Start
Once you have installed and opened CLUI, you will be met with a screen that looks like this:
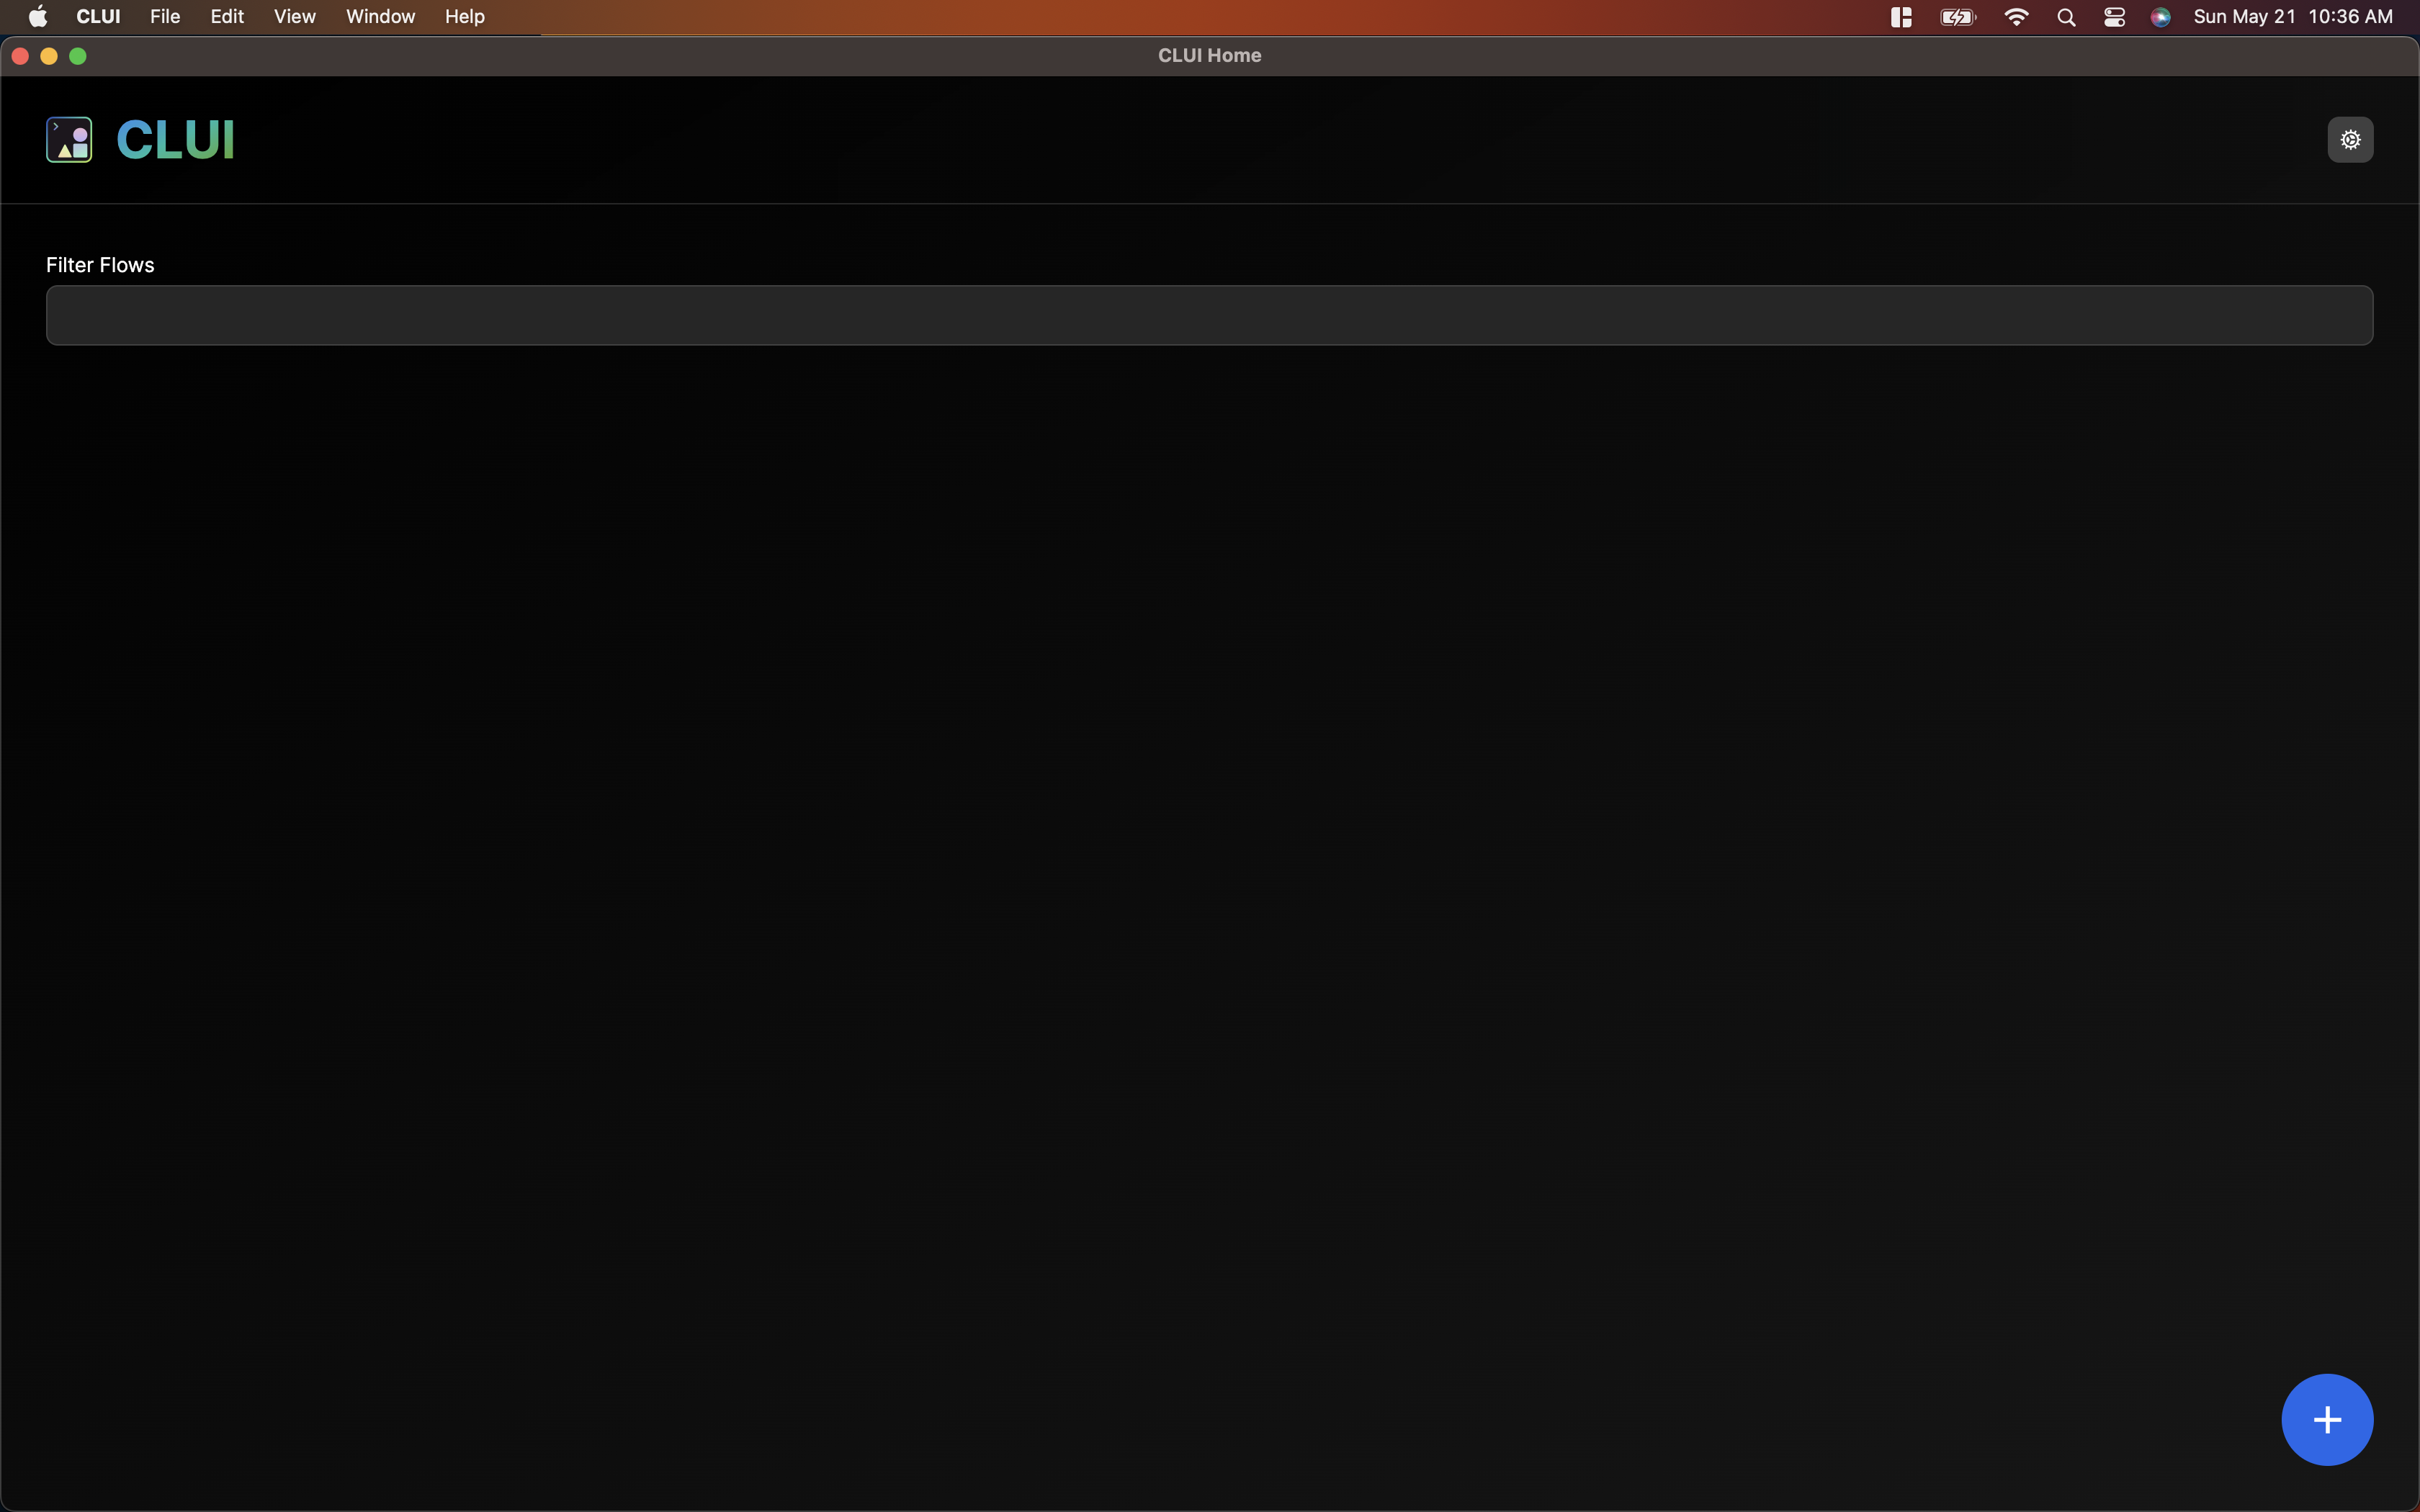
To create your first flow, click the blue + sign in the bottom right corner!
Creating Your First Flow
Once you have clicked the blue + sign in the bottom right corner, you'll see a page like this that is prepopulated with some data that will create a "Hello World" flow:
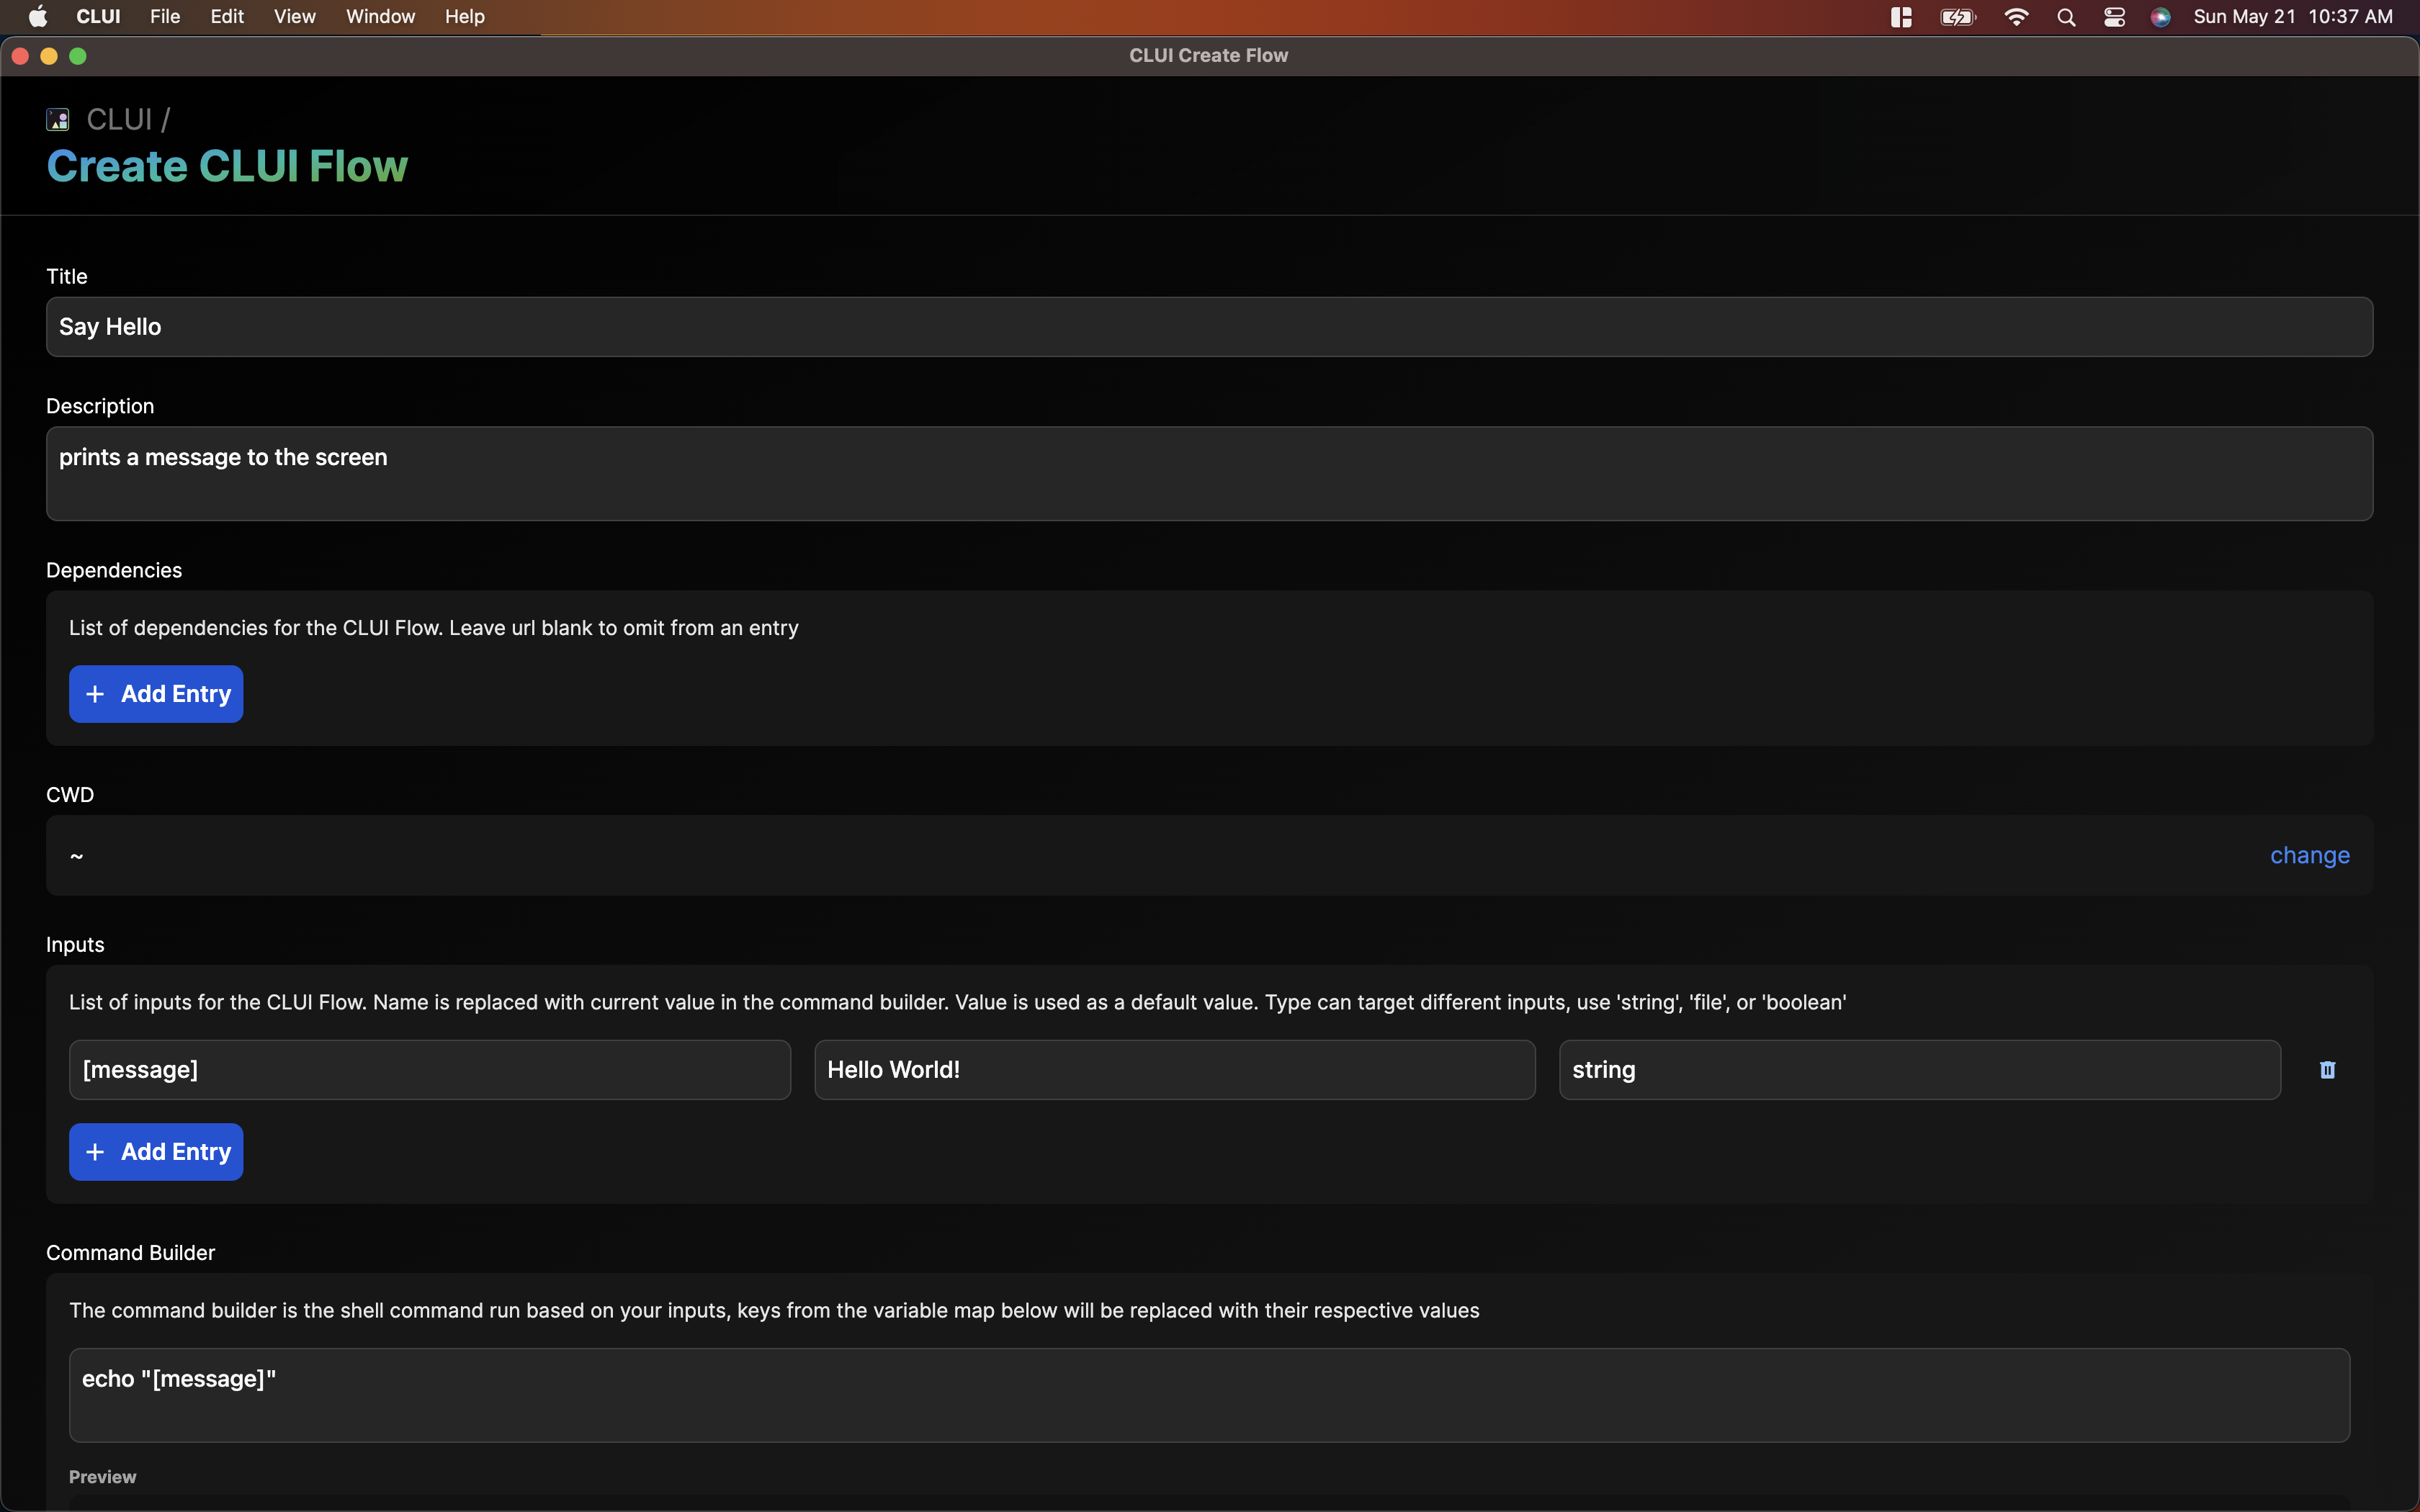
Title: Title that will be displayed on the dashboard.
Description: Description that will be displayed on the dashboard.
Dependencies: Dependencies required by your flow (i.e. ffmpeg, python). Use the url property to render a link to the given dependency or omit it to just render the dependency name as text.
CWD: Working directory from which the commands in your flow should be executed.
Inputs: Inputs required for your flow. Inputs can be of type string or file. string inputs allow for text input, and file inputs enable drag-and-drop file selection. We recommend using a consistent naming scheme that won't be used within your command; we like to use a short, simple name surrounded by square braces like [message] or [inputFile].
Command Builder: Construct the command to be executed. Use the inputs' names within the command builder string to represent their corresponding values during execution. Look into the Variable Map for key-value pairs of the text to replace and the replacement text. For example, a command builder input of echo "Current Timestamp is @NOW" will run the command echo "Current Timestamp is 1684681404139" (your timestamp may vary 😅).
Tags: Tags for your flows for searching / categorization.
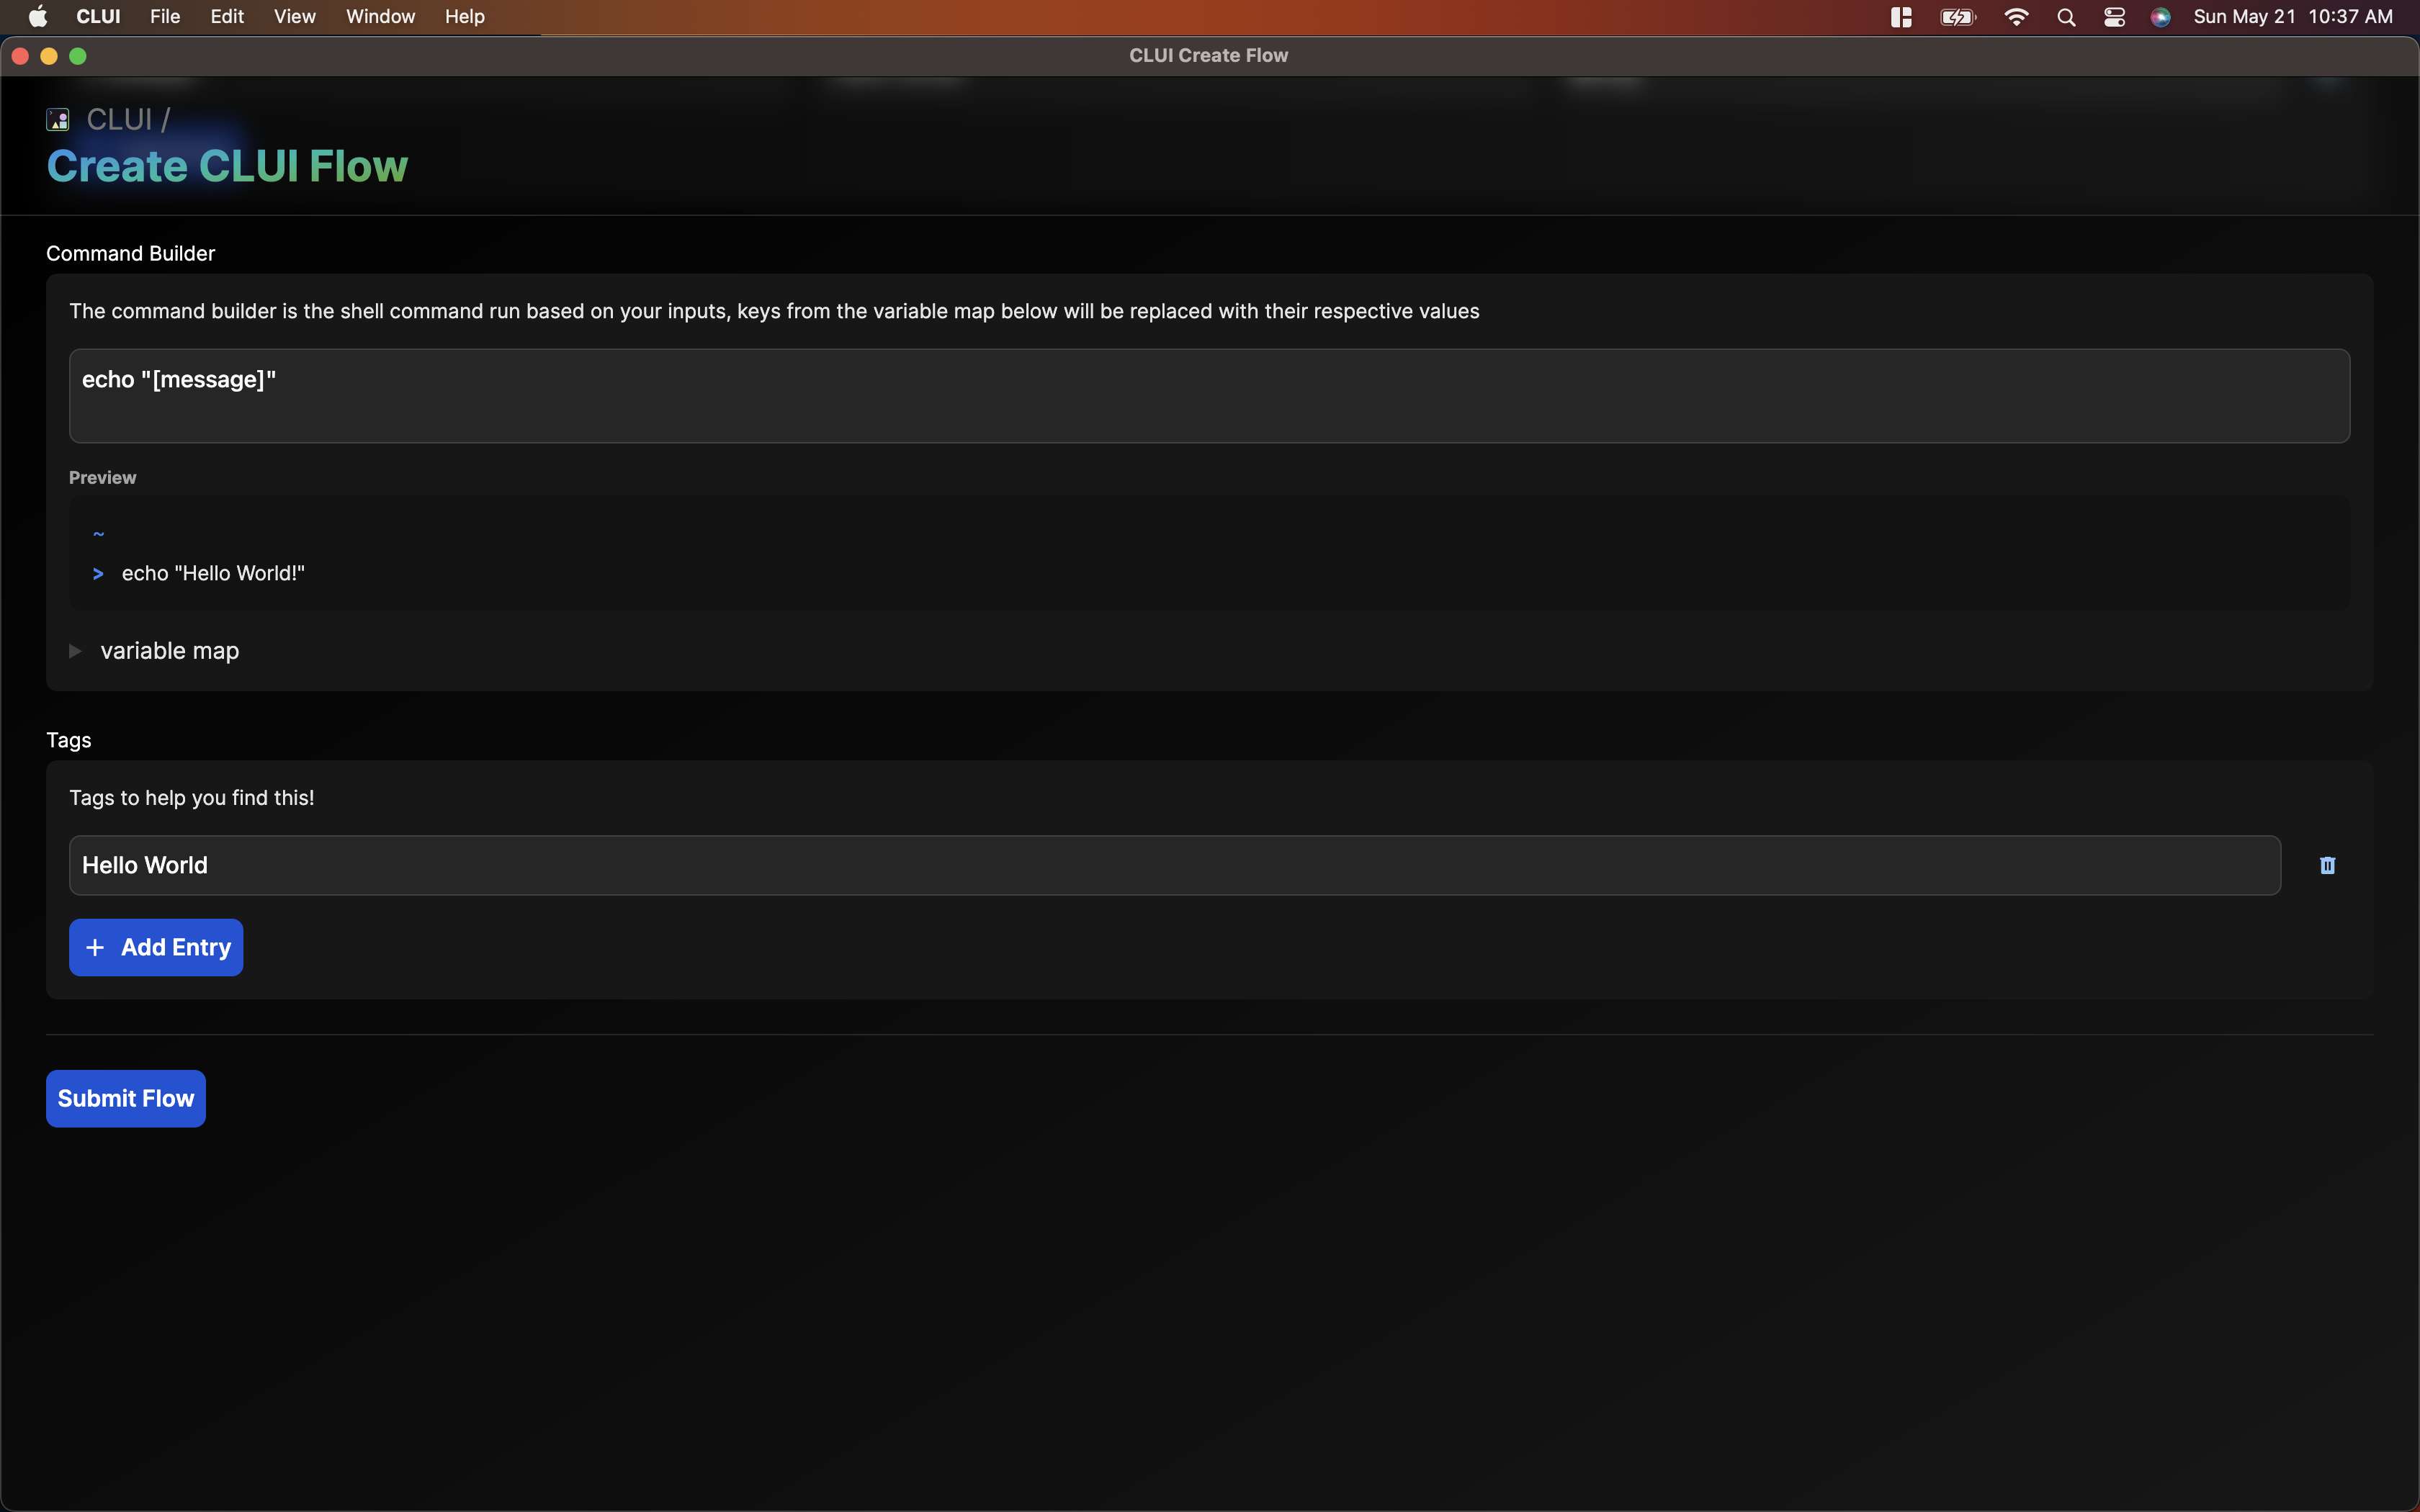
Once you are ready, hit the Submit Flow button at the bottom of the form and you will be brought to the Flow Execution page.
Flow execution
After your flow has been created, it will appear on your CLUI dashboard as such:
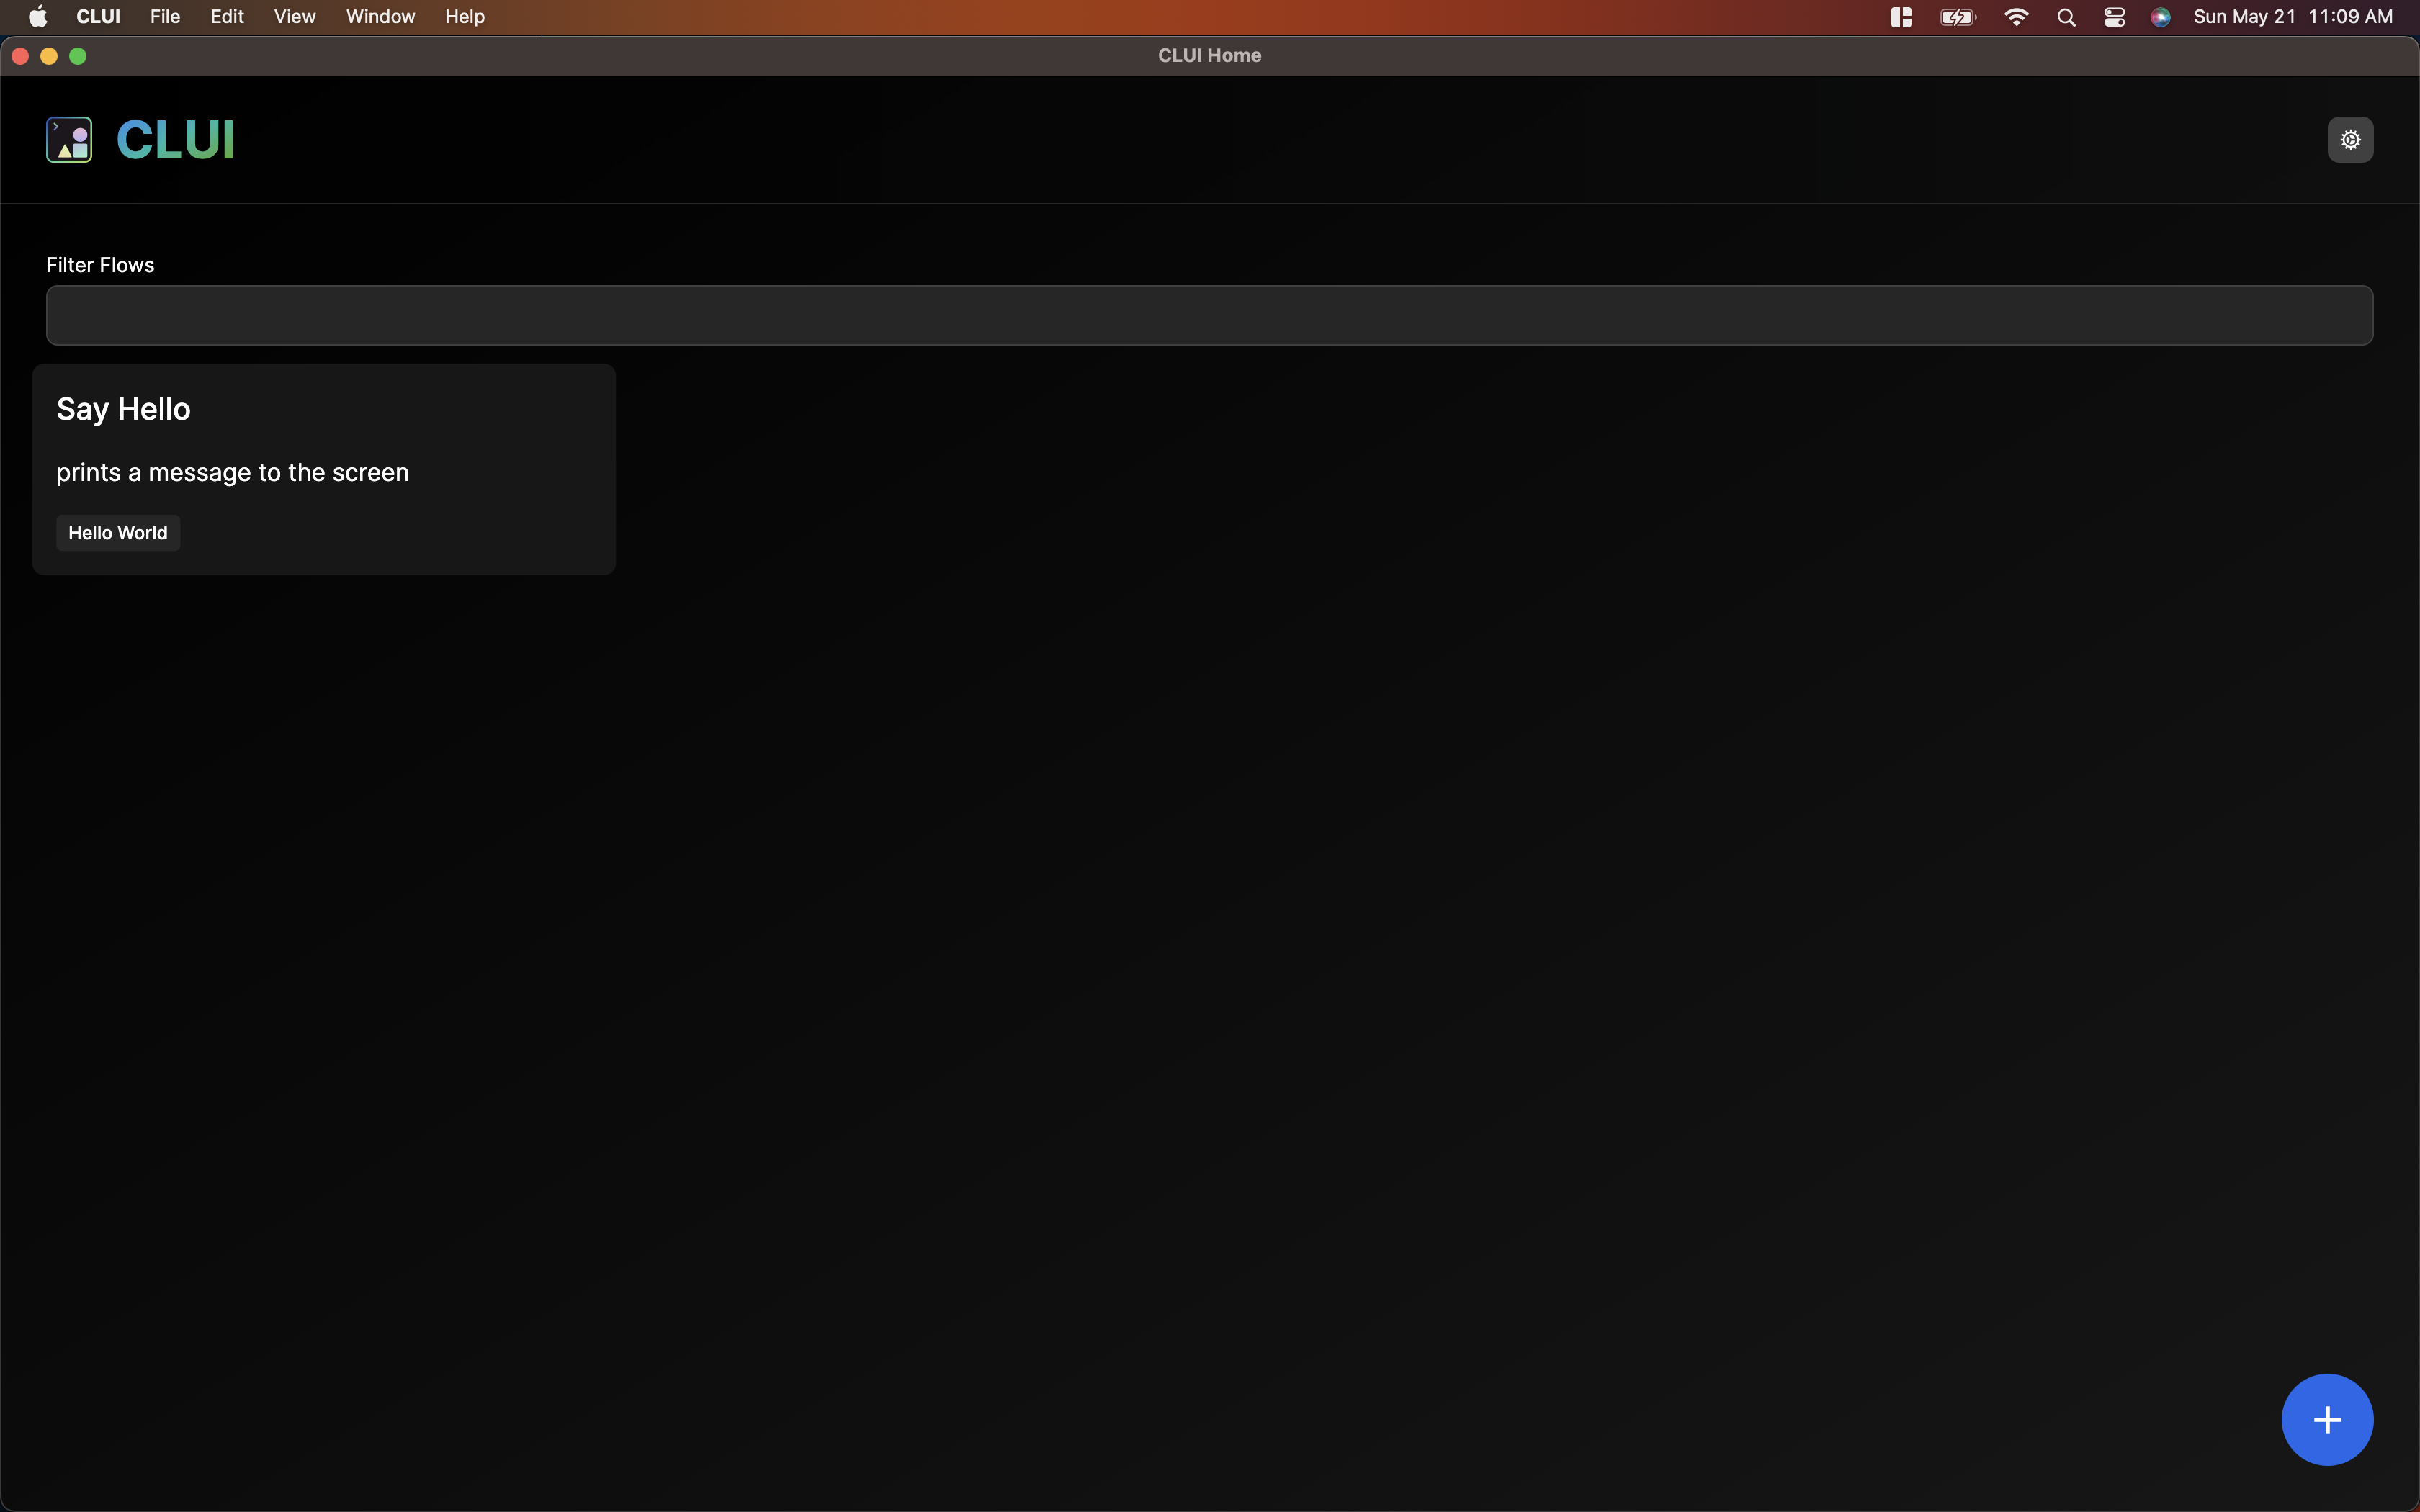
And if we click into it (or haven't navigated away from it after successfully creating our flow), we will see the Flow Execution Page:
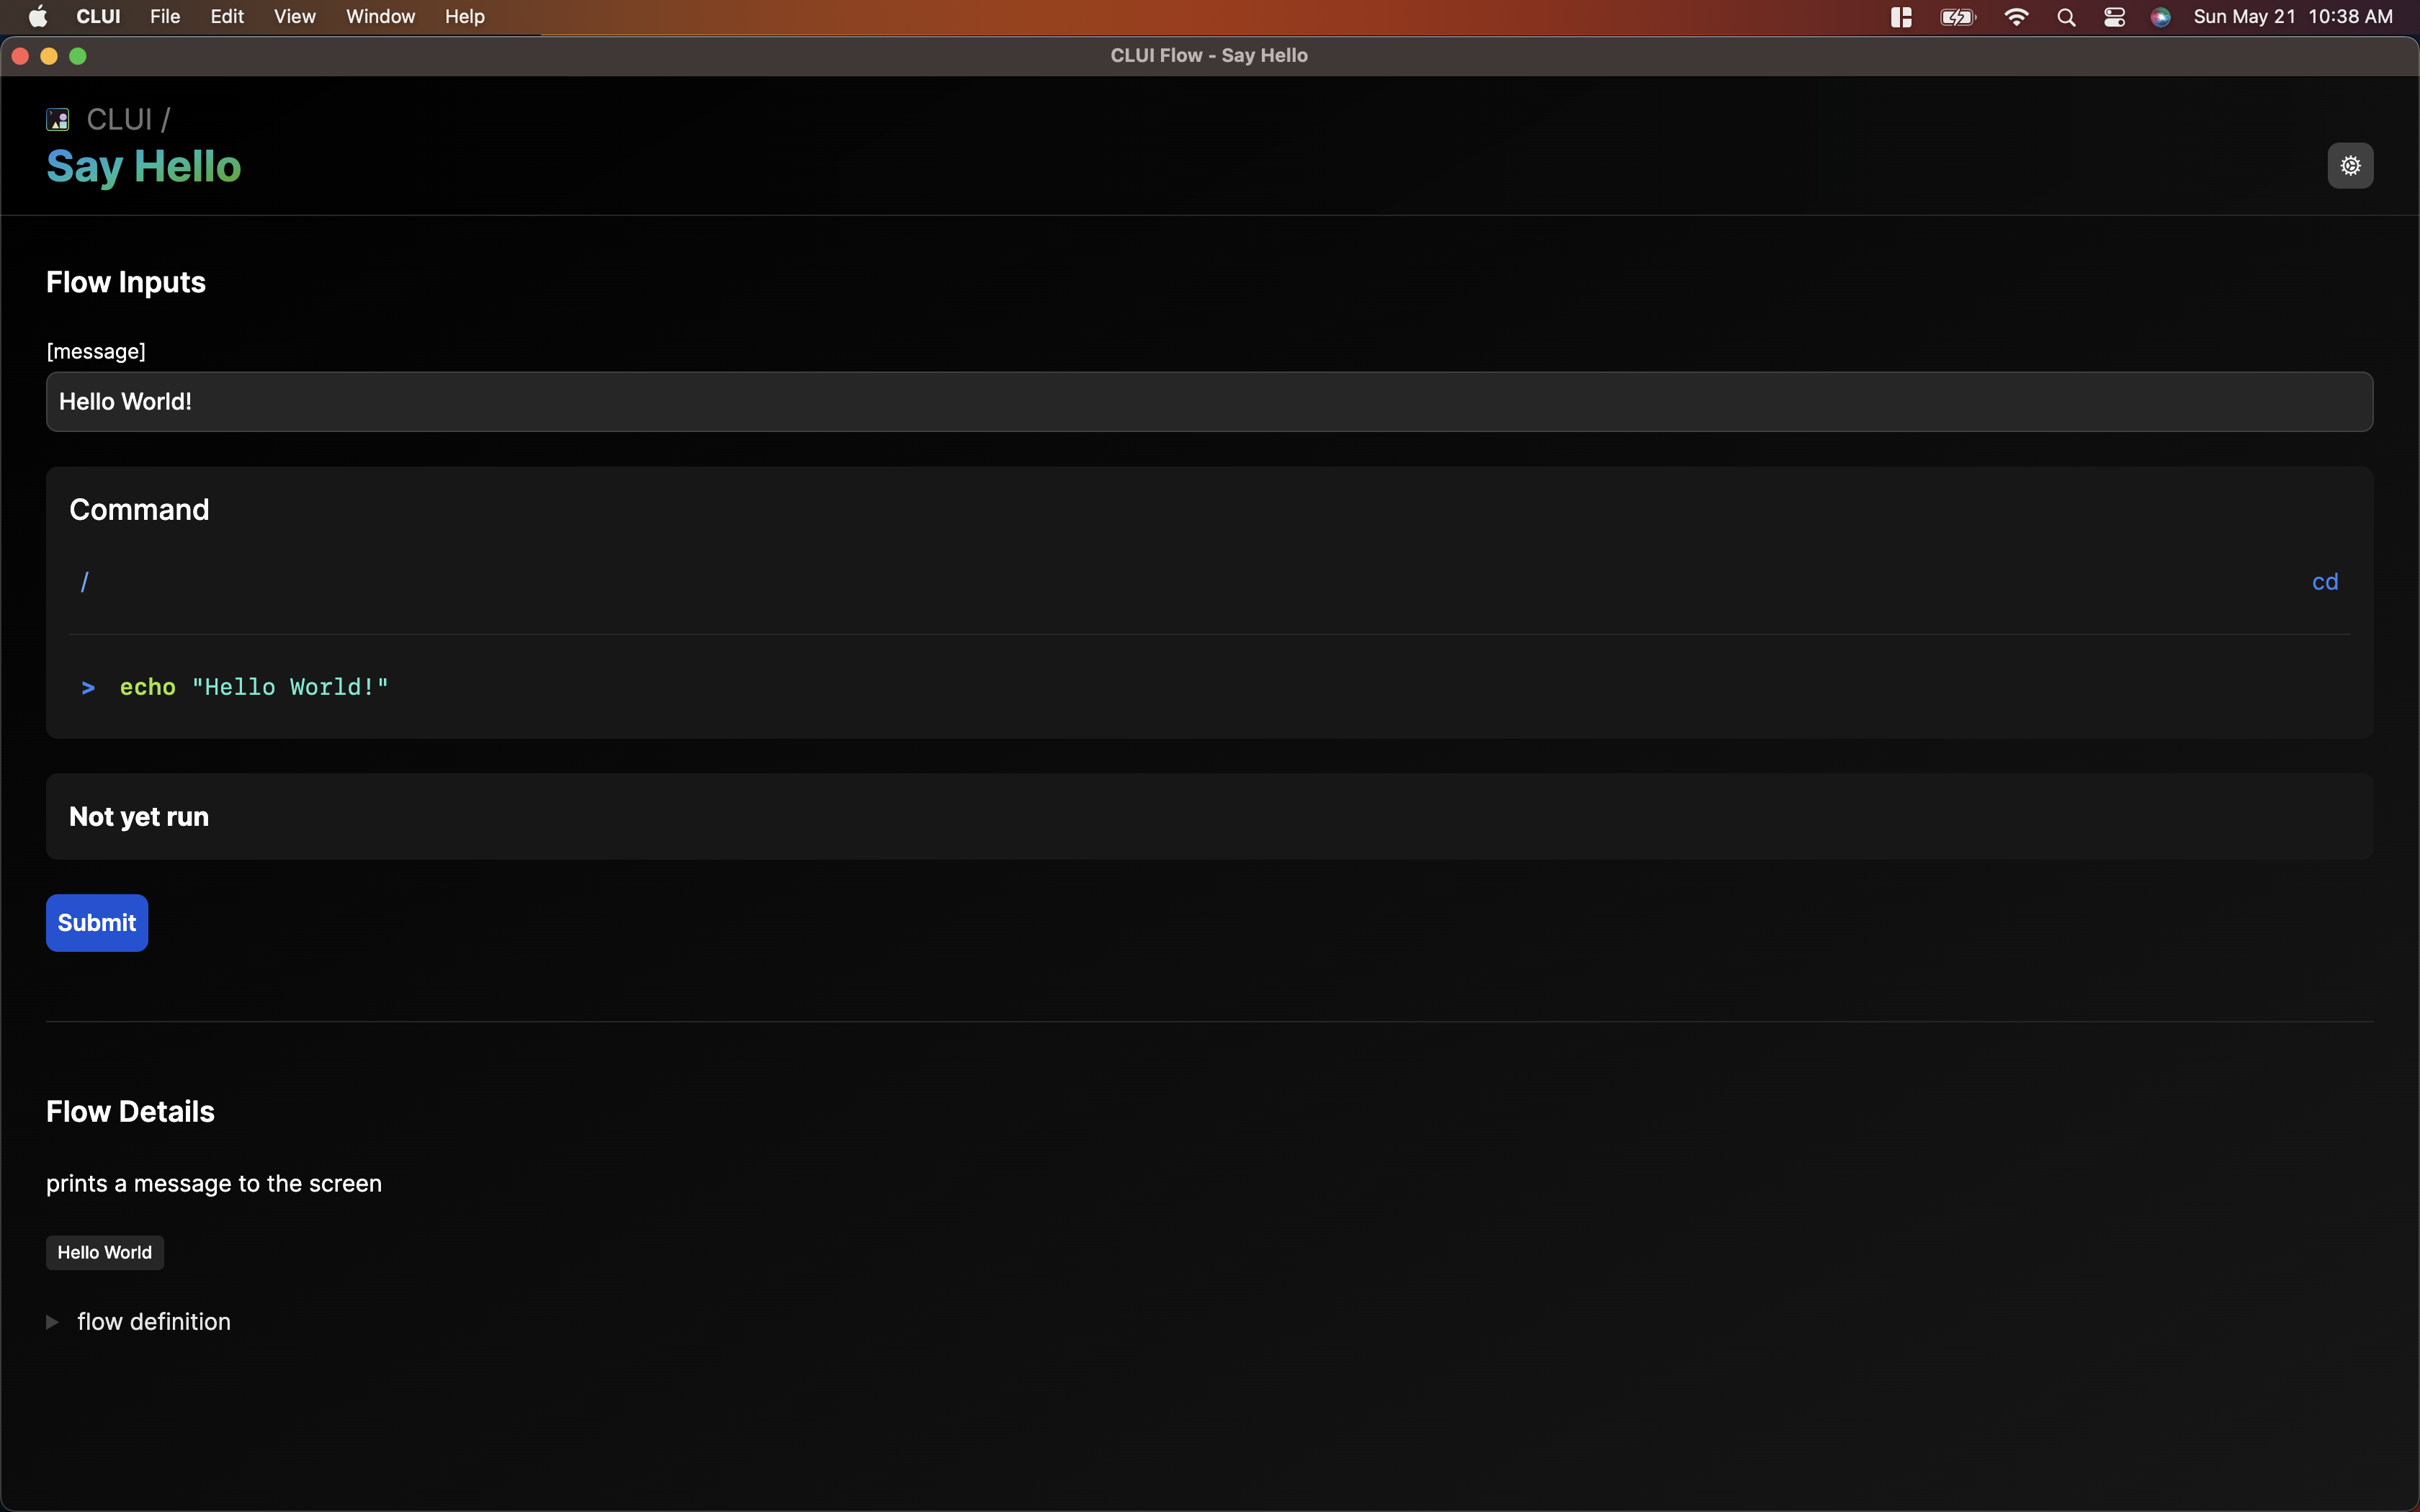
On the Flow Execution Page, we can configure our inputs (here we just have one text input), change our working directory by typing in the working directory or hitting the cd button. To run the flow, hit the submit button towards the bottom!
If your flow involves interacting with
stdin, you can flush tostdinwhile a flow is running via a text input box that appears at the bottom of the command output.
After running your flow, you will see the output render to your screen like so:

If you need to edit a flow, delete a flow, or find the flow definition file on your computer, there are options to do so from the settings menu in the top right corner of the Flow Execution Page.
When editing a flow, you can either "Update Flow" which will update the flow definition in-place, or you can "Save As New Flow" which will create a new flow based on your edits.
Advanced Usage
Running multiple commands in sequence
You can likely use your shell to run commands in sequence. I personally use bash (though any posix-compliant shell should work for this), and can write a command like so:
mkdir -p ~/Scratch/pads/1684682563953; touch ~/Scratch/pads/1684682563953/scratch.js; code ~/Scratch/pads/1684682563953;
This command first runs mkdir -p ~/Scratch/pads/1684682563953 which will create a folder. After the folder is created, it will run touch ~/Scratch/pads/1684682563953/scratch.js which creates a file in that folder. Then it will run code ~/Scratch/pads/1684682563953 which opens the folder in VSCode.
Creating flows outside of CLUI
All CLUI flows are just JSON files located in the flows directory in the CLUI AppData directory. Feel free to add any flows here or edit them outside of CLUI! The schema is defined as follows:
type CluiFlow = {
  // title of the flow, searchable
  title: string

  // description of the flow, searchable
  description: string

  // tags for the flow, searchable
  tags: string[]

  // working directory to run the flow from
  cwd?: string

  // list of dependencies for the flow (i.e. ffmpeg, python, imagemagick)
  dependencies?: (string | { name: string; url: string })[]

  // list of inputs for the flow.
  // type 'string' creates a text input
  // - sets 'value' as contents of text input
  // type 'file' creates a file input
  // - sets 'value' as the path to the file
  inputs: {
    name: string
    value?: any
    type: 'string' | 'file' | 'boolean'
  }[]

  // command run from the CWD.
  // - all occurences of the inputs' 'name' properties
  //   will be replaced with their respective values
  commandBuilder: string
}